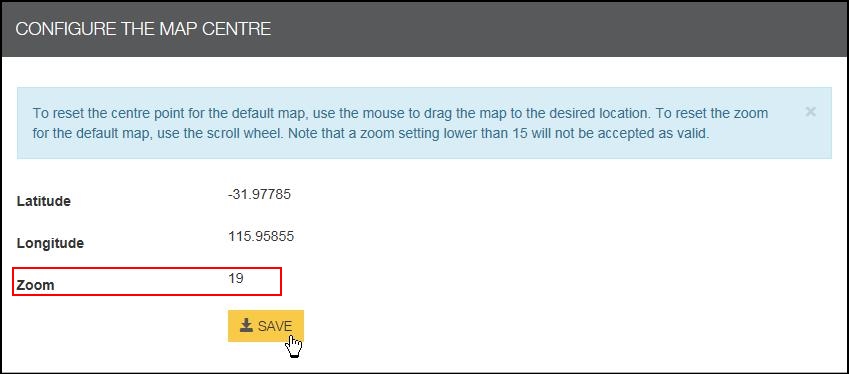
This article will detail the steps you need to follow to set up the location for your site map.
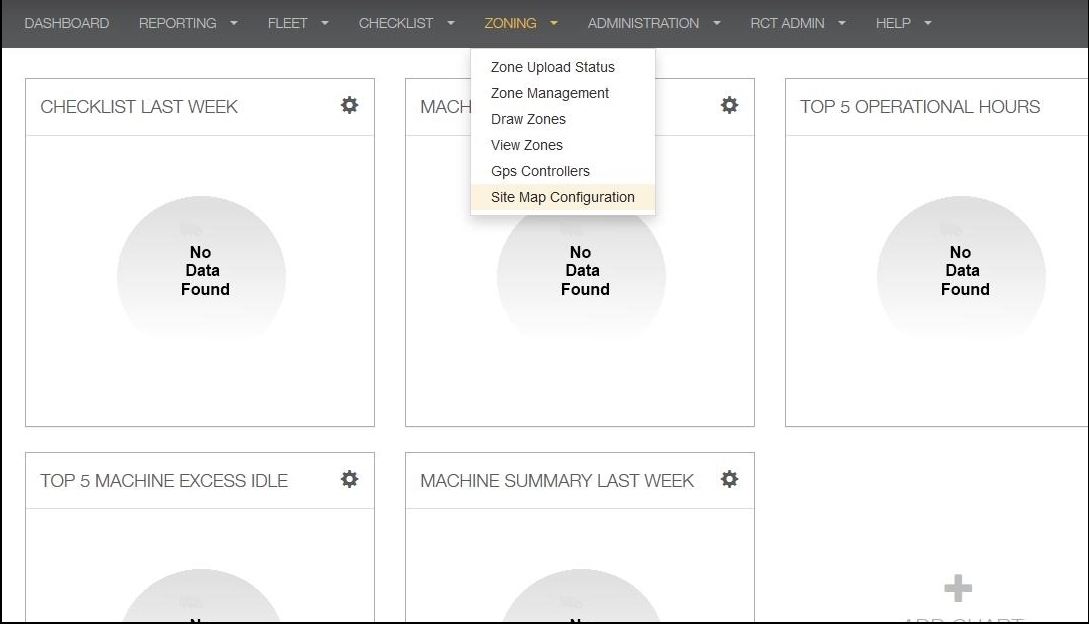
- In the navigation panel open the Zoning drop down menu and select the site map configuration option.
2. The Site Map Configuration window will open and currently saved GPS coordinates will be shown, with a map below them.
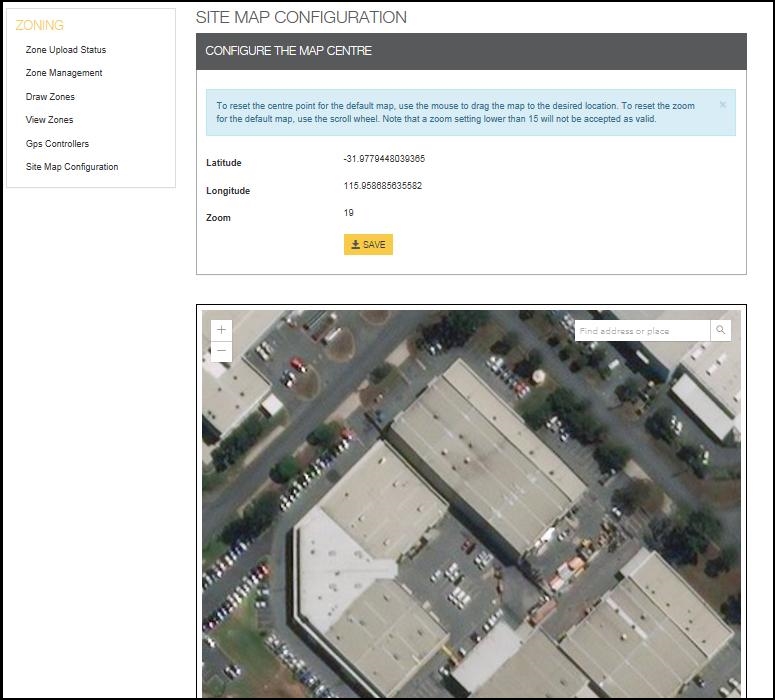
3. If the map is showing the correct area you can use your mouse to drag the picture to adjust however you wish, to zoom in or out you can use the + and - in the top left corner or through the use of the scroll wheel if your mouse has one. If the map is not showing the correct location use the search bar in the top right and enter the address of the site you wish to set up. in the example below we want to show RCT's Perth branch, which is located at 511 Abernethy road, Kewdale. The search bar will attempt to automatically complete your search as you write, simply click the correct address when it is shown.
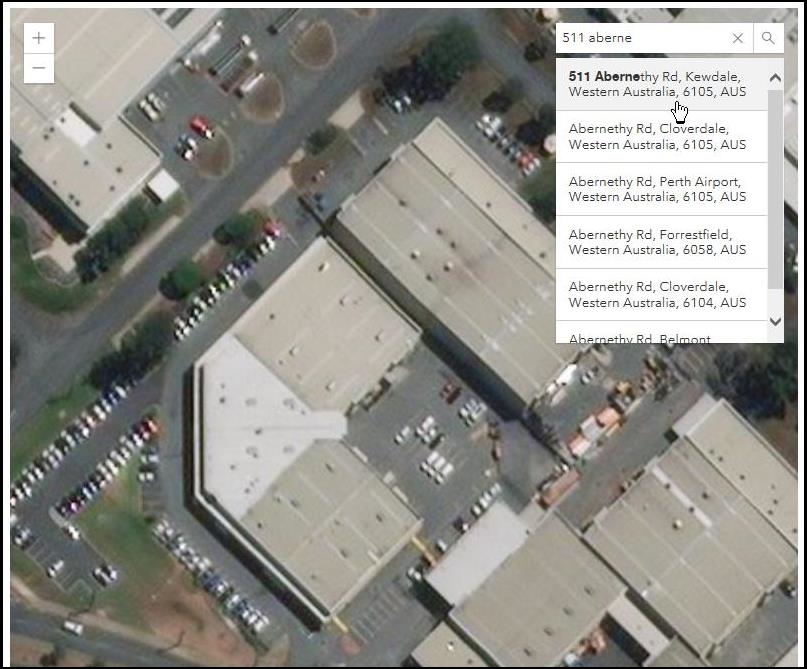
4. Once the search has been completed your selected location will be shown. Adjust the image using your mouse/mouse pad until you are satisfied the image is calibrated to your needs. Once you are happy with the shown image click the Save button located just under the GPS coordinates.
Please note: the zoom setting of the image must be set higher than 15 otherwise it will not be accepted.