This article will detail the steps you need to follow to draw the Zones required on site.
First, please watch the video to familiarise with how to Draw Zones.
- In the navigation panel open the Zoning drop down menu and select the Draw Zones option.
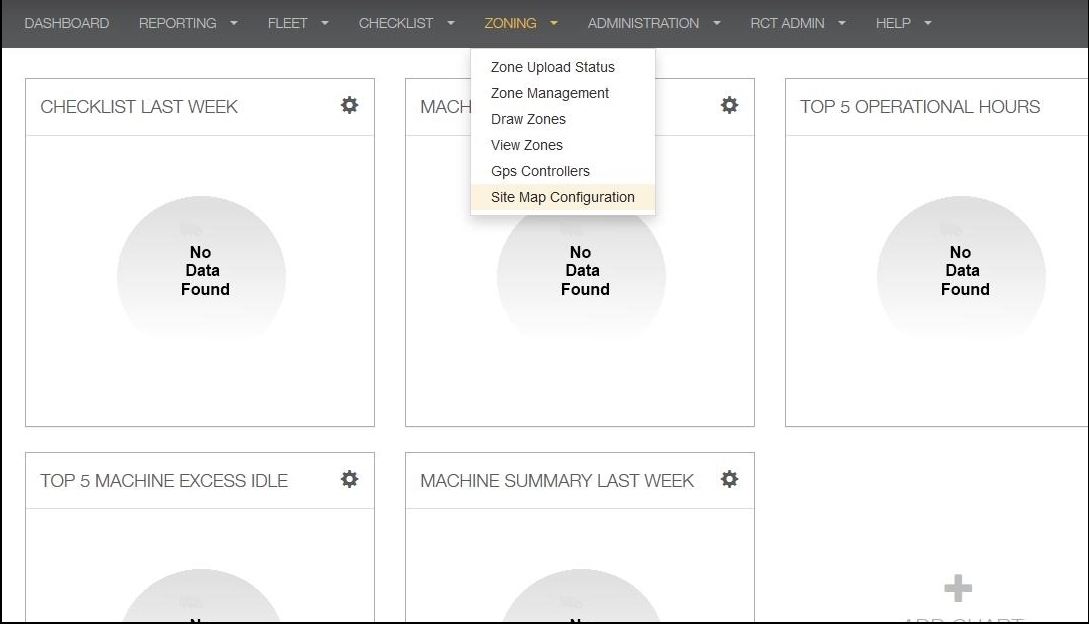
2. The Draw Zones window will open.
3. To correctly set up the zoning, the site will need one large fast zone to cover the whole site and within this zone there will need to smaller slow zones.
The Fast zone is set with the output description of output 2 and when drawn it will be outlined Green.
The Slow zone is set with the output description of output 1 and when drawn it will be outlined Red.
4. In the top right hand corner of the map select the Draw Polyline icon
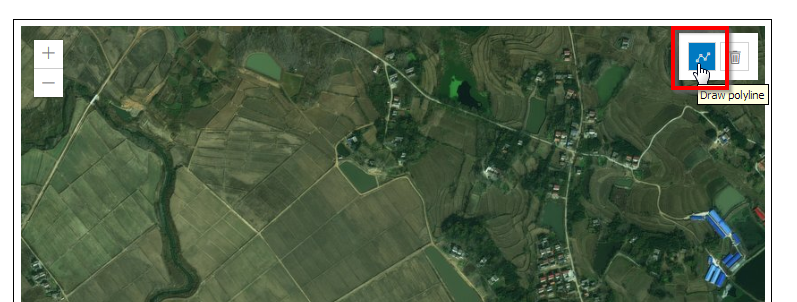
5. Left Click the mouse on the map at the points desired. A Red line will link the clicked points
# Note: If you make a mistake, you can press the Z key on your keyboard to undo the last point.
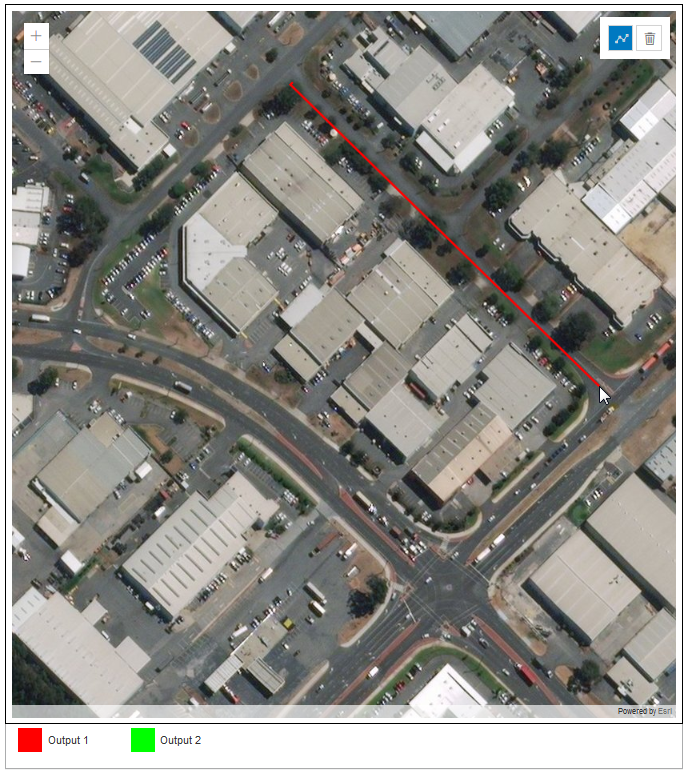
6. Draw the first 3 out of 4 sides for the desired zone
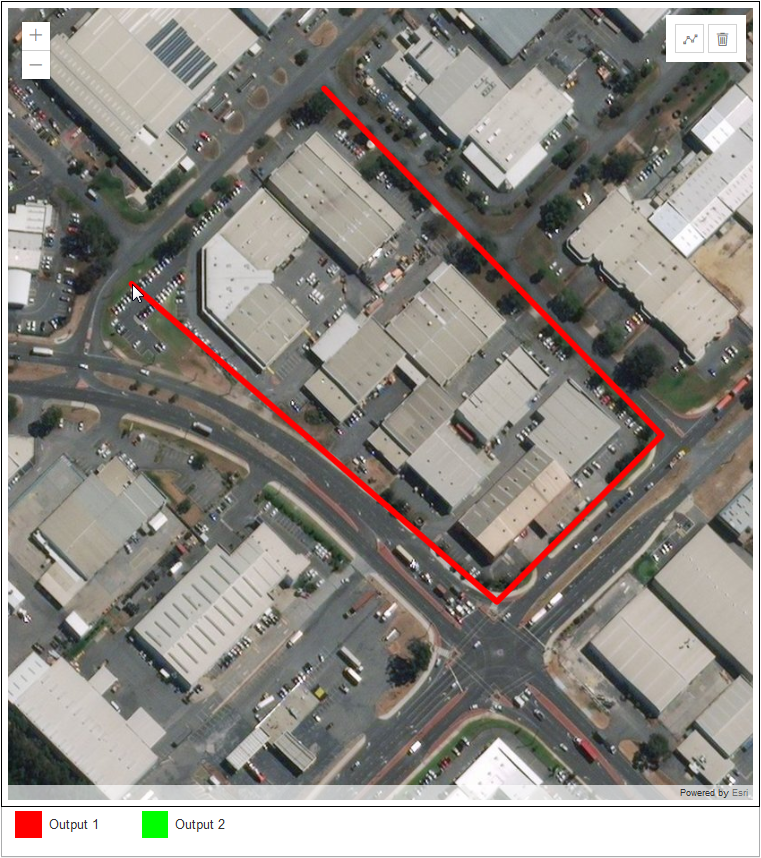
7. Draw the 4th side almost to the first point and single left click the mouse
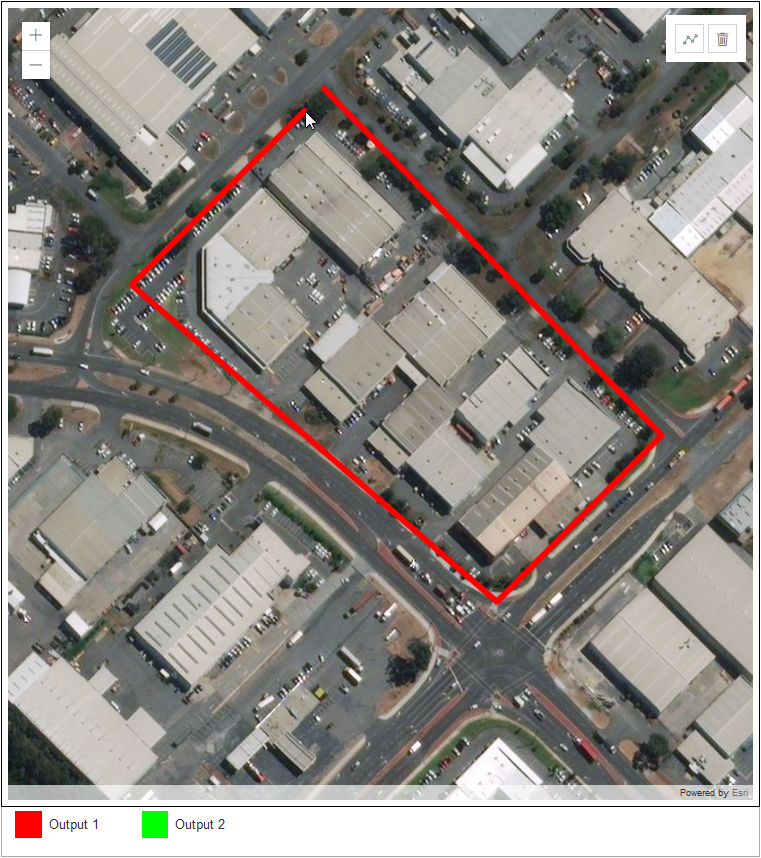
8. DOUBLE-CLICK the left mouse button to get out of drawing mode, after the zone is saved the 4th side will join to the start point.
# Note: If you draw the zone incorrectly, click the trash icon and any graphics you have added will be removed, and then start over.
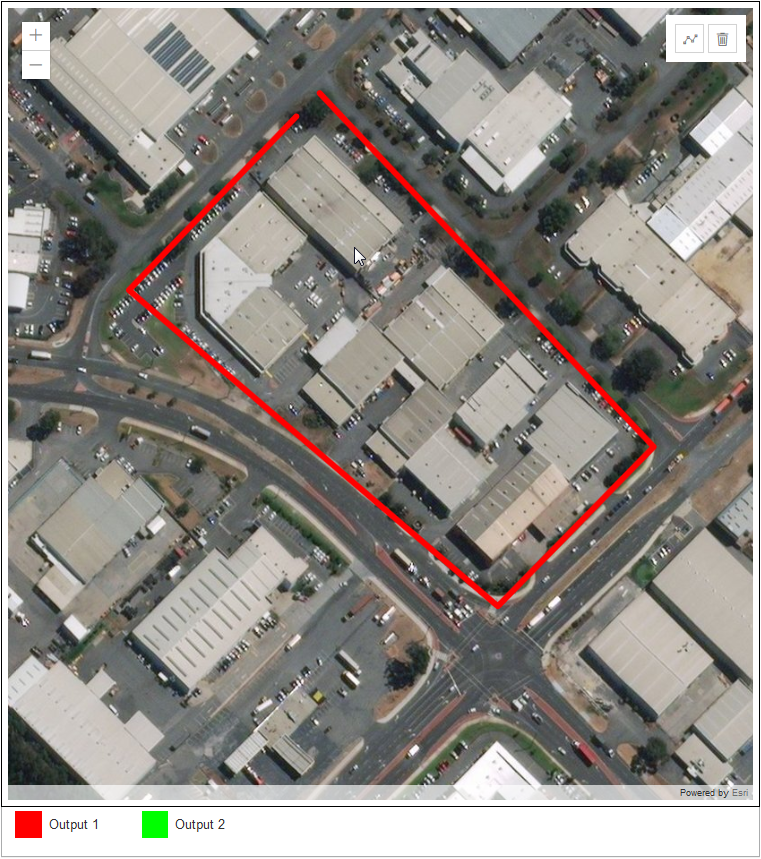
9. This example is for the fast zone: in the description enter in a name suitable for identifying the fast zone for example “Fast Zone”
10. Select the output as 2
11. Click on Save

12. Do the same for the slow zones but select the output as 1.
#Tips:
Holding Left mouse button will allow you to drag the map.
Keyboard shortcuts: Z = undoing last drawn side.